Laptop memory upgrade
For those of you competent at basic computer upgrades, these instructions explain how to fit a memory upgrade to your laptop. For information on purchasing memory upgrades, please contact Resourceful Computer Help.
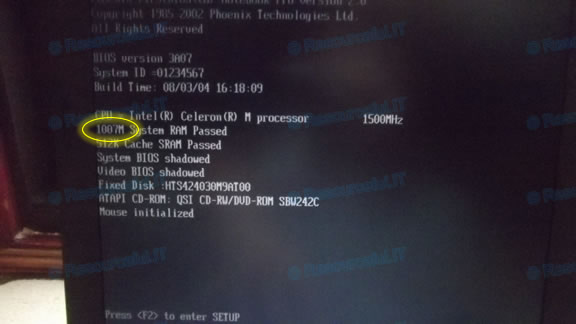
1. Note the amount of system memory currently fitted.
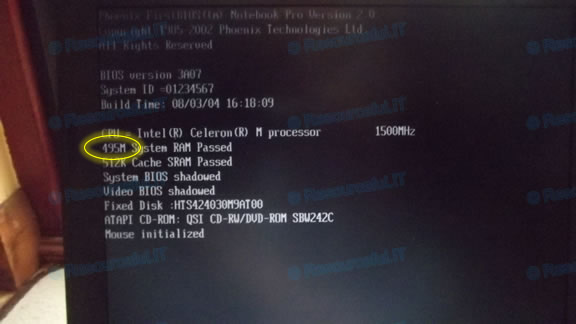
2. Turn off the computer & disconnect the power cable.
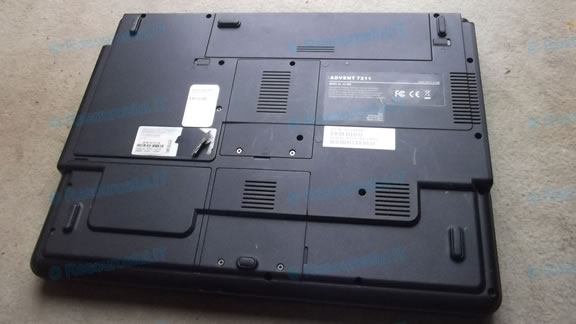
3. Remove the battery.
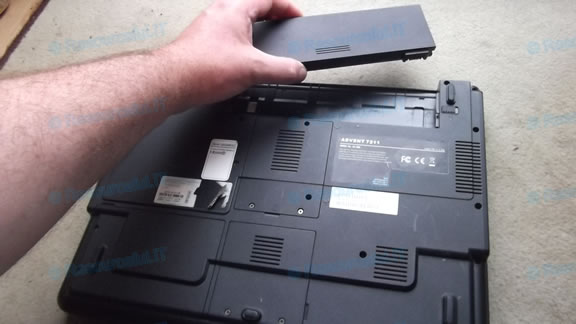
4. Find the memory access panel.
We will have indicated where this is during our visit.
Normally, the panel has a picture of a computer chip on it.
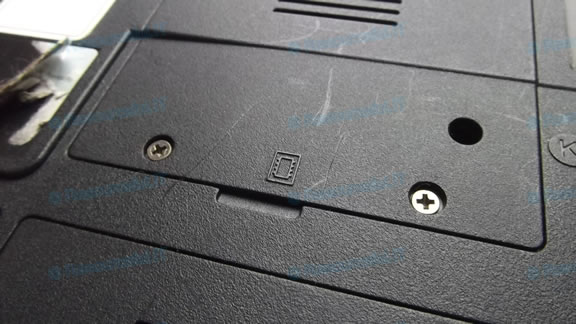
5. Unscrew the screw(s) holding the panel in place.
NB. These screws are usually attached to the panel, so don't try to remove them.
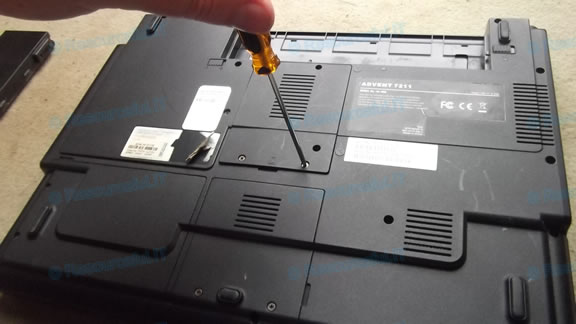
6. Remove the panel and set it to one side.
7. If an empty memory slot exists, align the notch of the memory module with the memory slot, then proceed to step 9.
8. If no free slot exists, unclip an existing memory module using your finger nails.
NB. The metal clips at either side of the module gently pull out 1 or 2 millimetres.
The memory module will pop-up and can then be slid out of the slot.
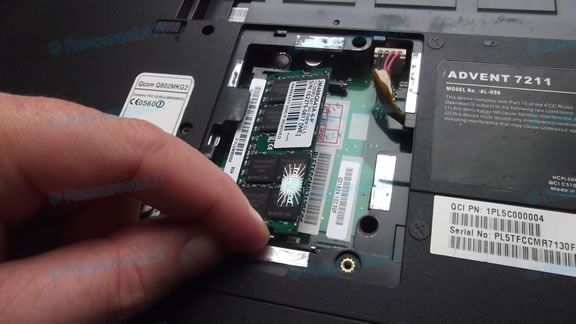

9. Gently slide the new memory module into the slot at a 45 degree angle.
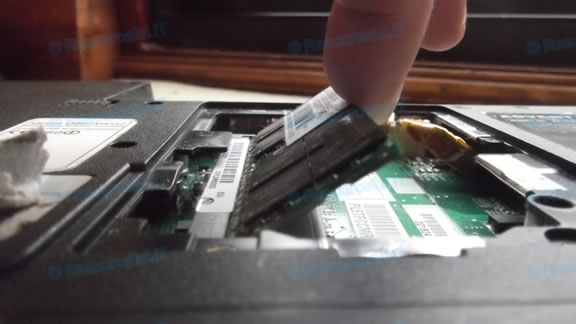
10. Once all the pins are in the slot, gently lower and push the the memory module down flat.
A nice clicky noise will be heard whilst the side clamps lock the memory module into place.
11. Replace the memory access panel.

12. Replace the battery.
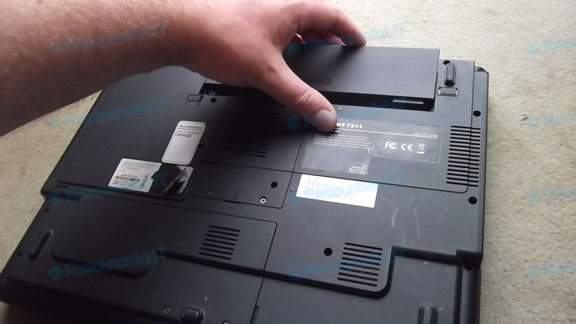
13. Check the amount of system memory has increased.
14. Job done!

Recent comments
13 years 17 weeks ago
13 years 24 weeks ago
13 years 26 weeks ago
13 years 26 weeks ago
13 years 27 weeks ago
14 years 6 days ago
14 years 14 weeks ago
14 years 16 weeks ago
14 years 17 weeks ago
14 years 28 weeks ago